


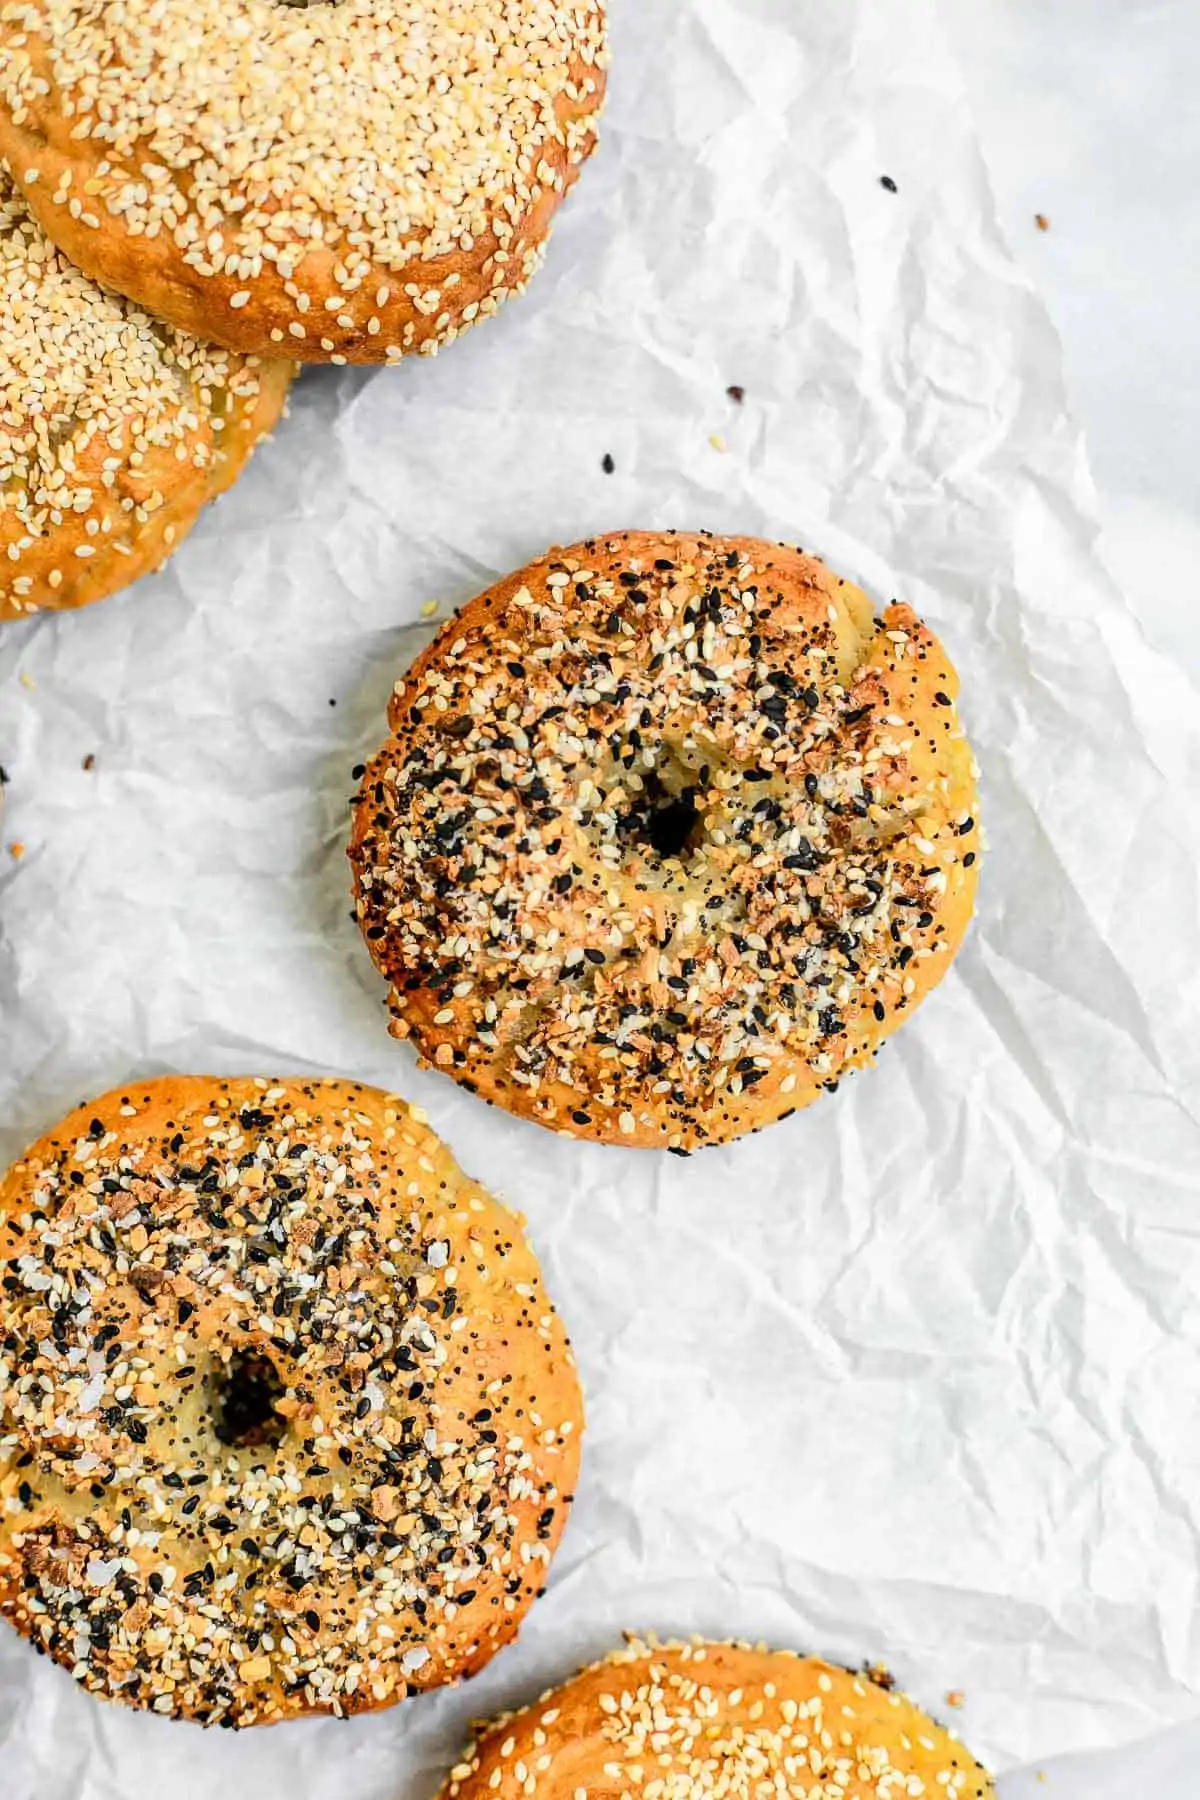
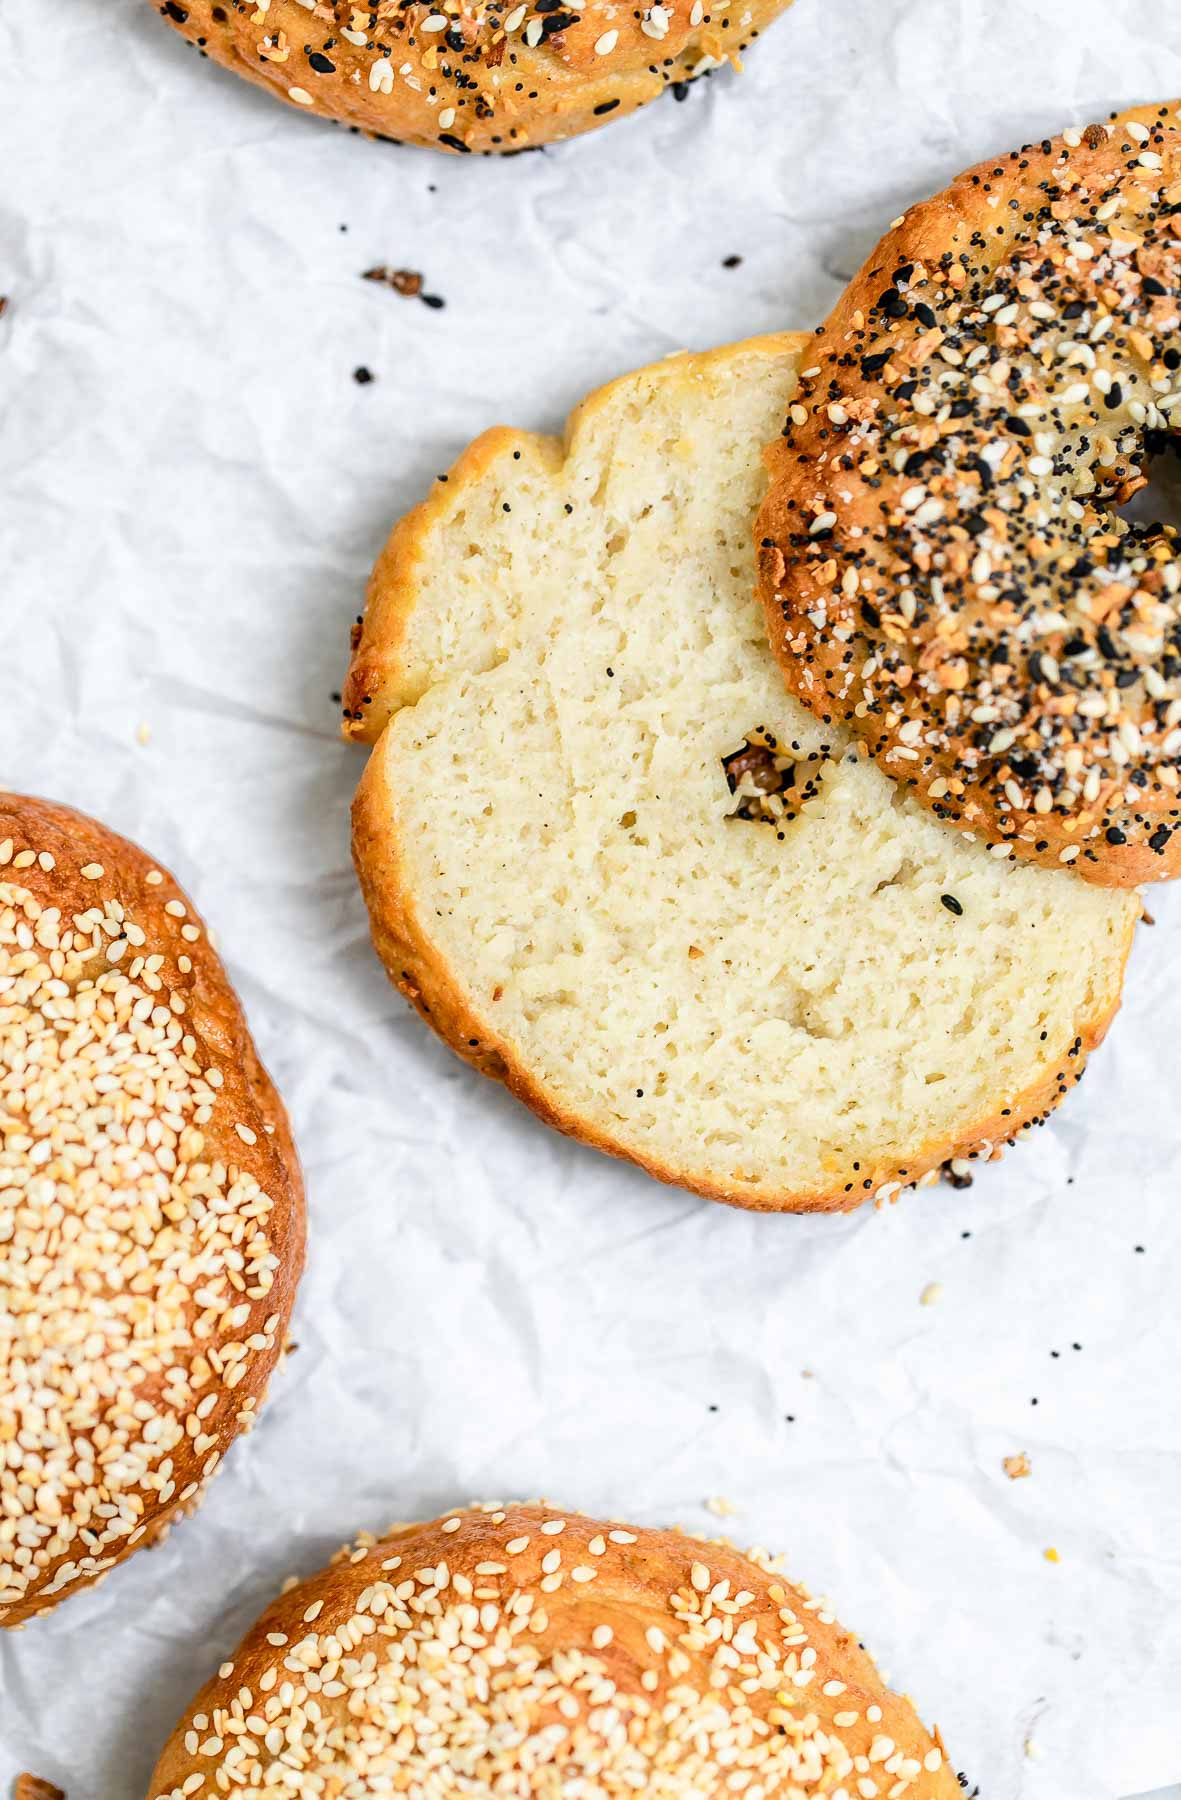
These fresh homemade gluten free bagels are the real deal! With a perfectly baked crust, a chewy and airy center, this dairy free recipe is freezer friendly and surprisingly healthy and easy to make!
Why this recipe works
This gluten free bagel recipe was NOT easy to develop, but ohmygosh it was worth it. You’ll never go back to store bought gluten free bagels again! I originally started with about 5 attempts at a gluten free and vegan bagel recipe. The flavor was always great, but I just couldn’t get past the texture.
So, I decided to check out some different store bought gluten free bagels, and almost all of them had one key ingredient- eggs!
The texture of bagels is so specific and important, so I decided to add egg whites, which made a HUGE difference! They went from gummy and dough to perfectly chewy, airy, but just dense enough.
The protein from egg whites allows the bagels to rise more and creates small air pockets which contribute to the overall texture of the final recipe.
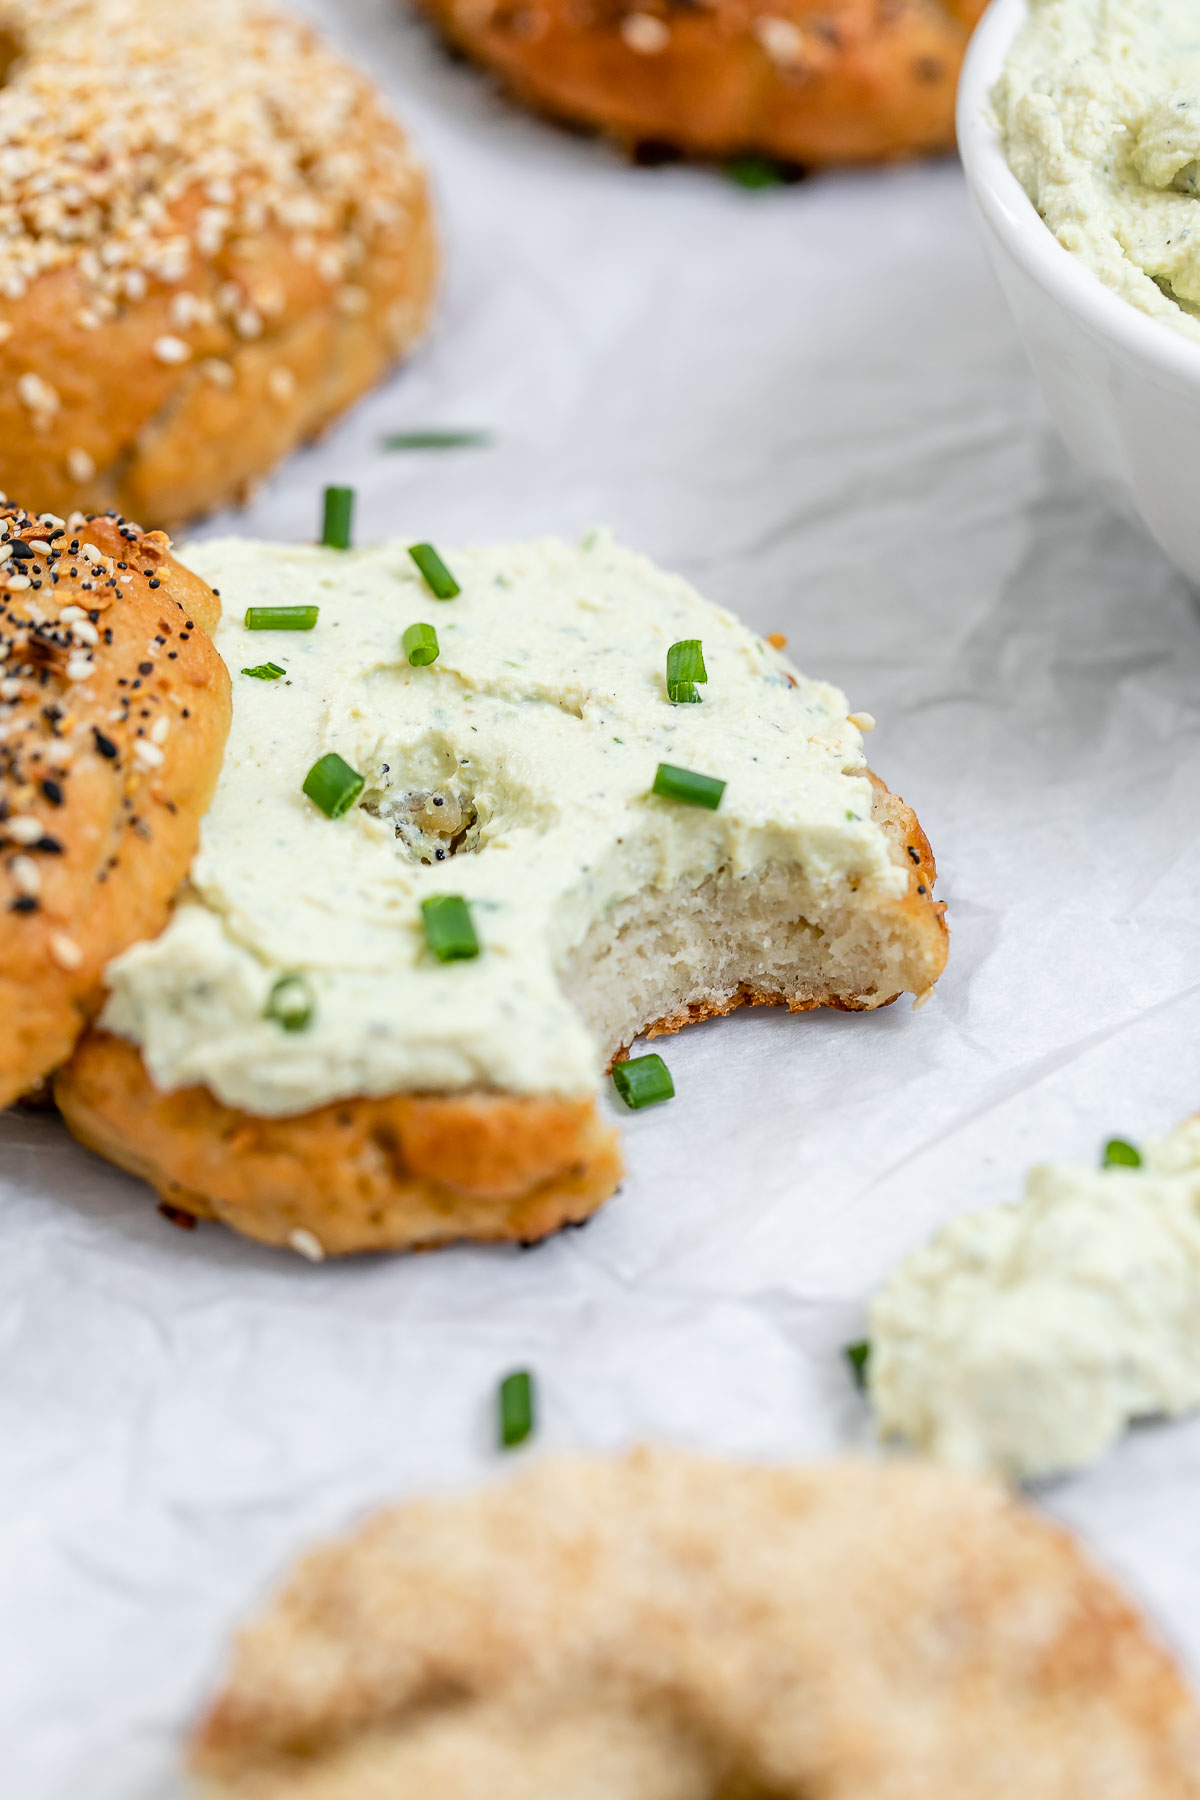
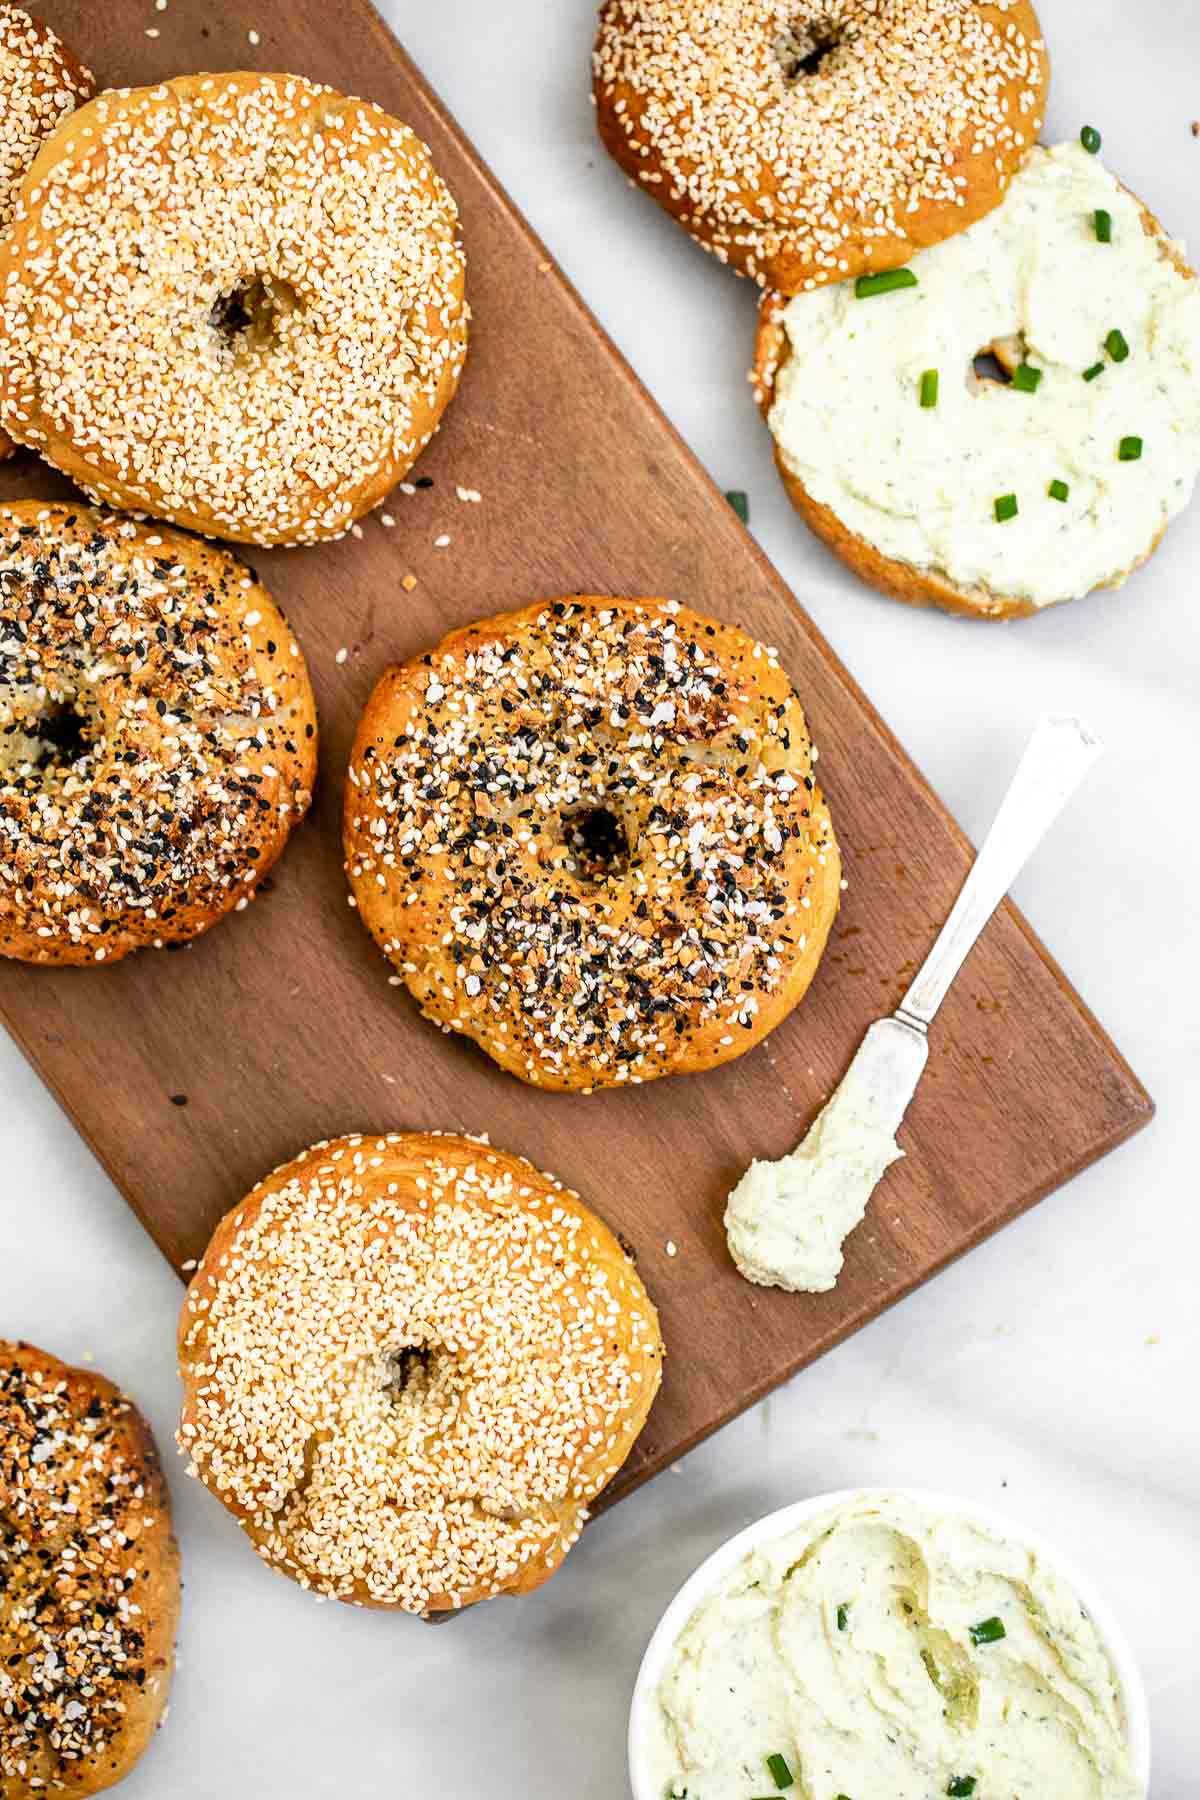
These bagels have a delicious and classic flavor, and are perfect with my homemade cream cheese on top, with peanut butter, or made into a breakfast sandwich with all of your favorites. Anything goes!
How to make gluten free bagels
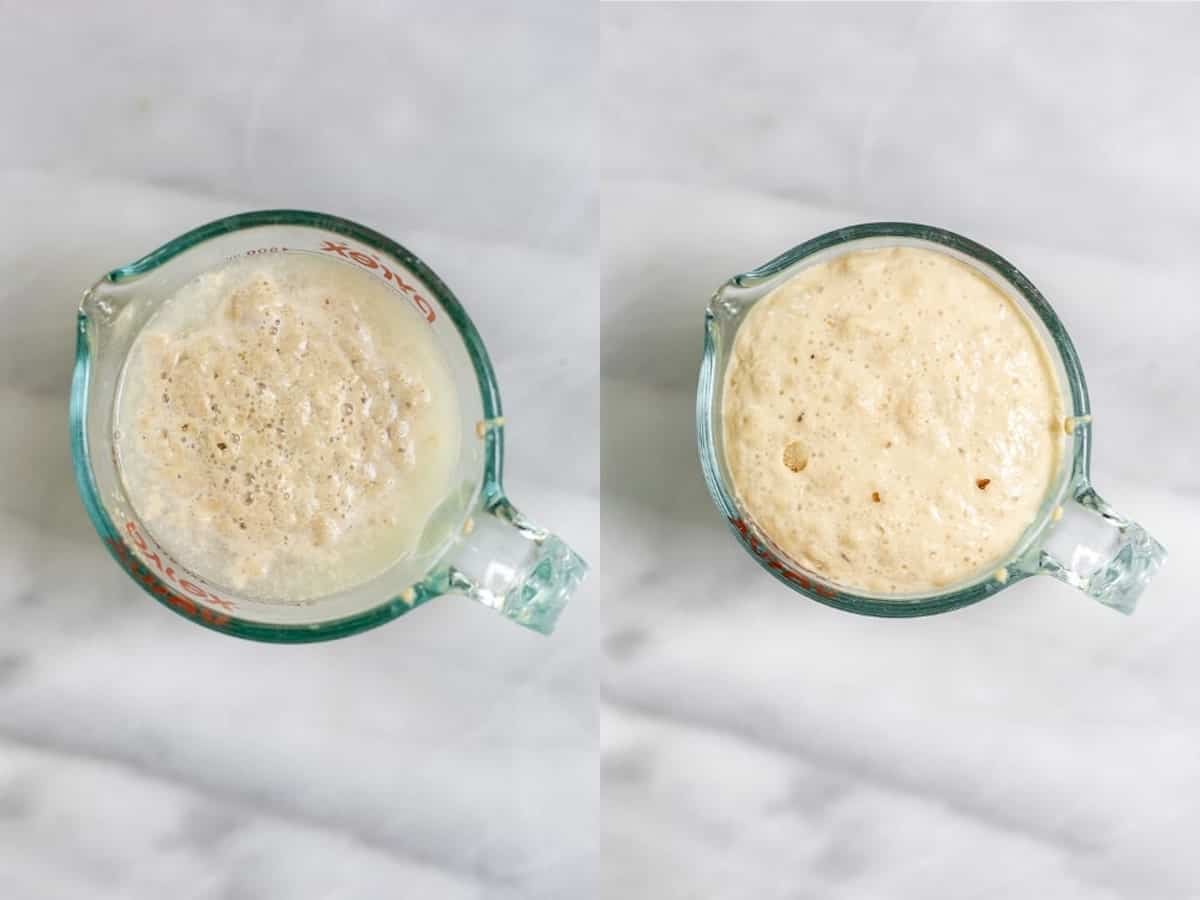
Warm 1 cup of water until it reaches 110-115 degrees Fahrenheit. This temperature is really important for properly activating, but not killing, the yeast. If you don’t have a thermometer, you want the water to be warm to the touch, but not hot.
Add in the yeast and sugar and stir together. Let sit for about 5-10 minutes while we prepare the rest of the ingredients. It will foam up a bit as it sits.
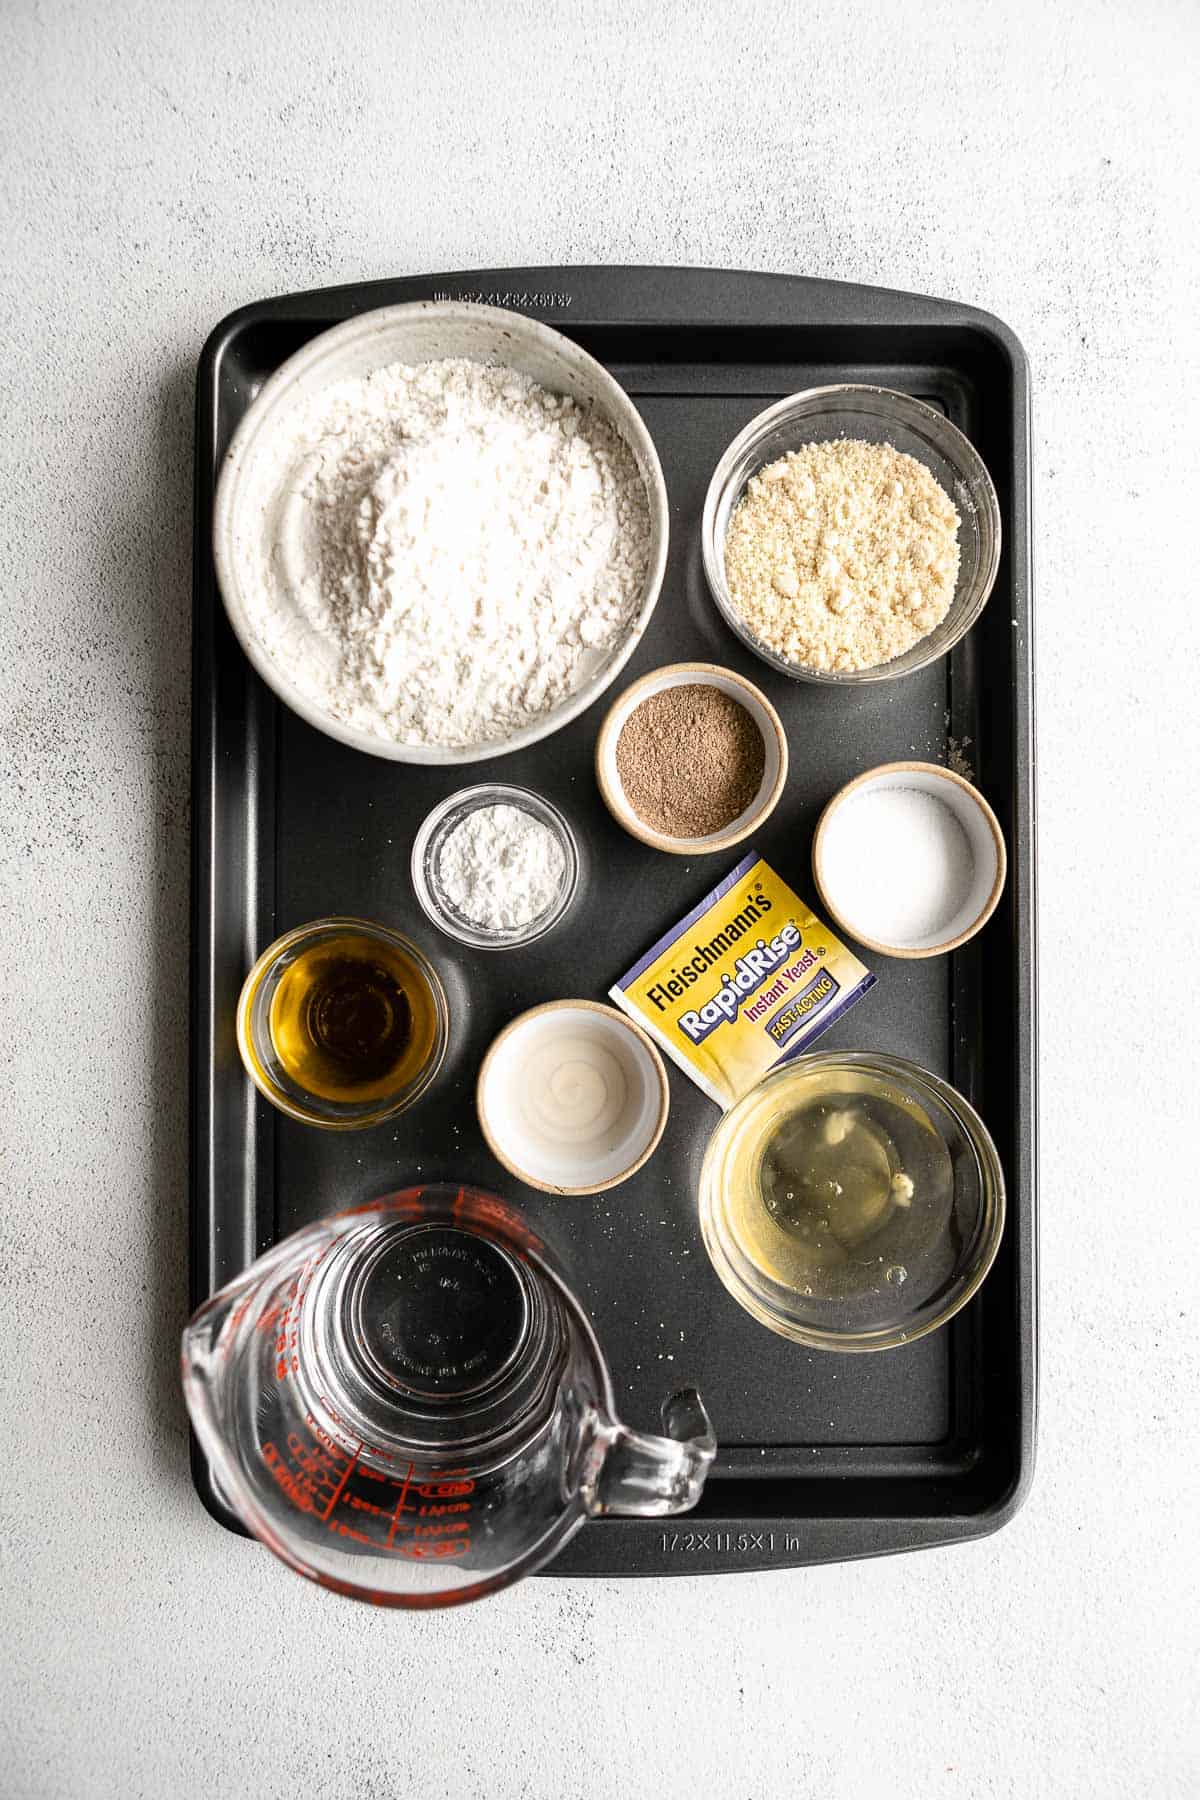
Meanwhile, whisk together all dry ingredients in a large bowl. This includes the all purpose flour, almond flour, baking powder, salt, and psyllium husk powder. When measuring the flours, be sure to spoon and level them into your dry measuring cups, don’t scoop right from the bag.
In a second bowl, add the egg whites and beat with an electric mixer for about 20 seconds. You don’t want to over mix, just make them a bit foamy.
Add in the olive oil and apple cider vinegar and whisk together. Add the egg white mixture to the dry ingredients and add the yeast/water mixture to the dry ingredients.
Mix together with a wooden spoon until the batter comes together. It should be neither really wet nor dry.
Add to a clean surface and knead for 90 seconds. You don’t want to knead for too long since gluten free recipes can get gummy, so I like to set a timer. If you notice the dough is dry at all, add 1-2 tbsp more water.
Divide the dough into 4 equal segments. If weighing, they should be about 170 grams each. You can make more smaller bagels if you prefer, rather than 4 large. If making 6 bagels, they will be about 115 grams each.
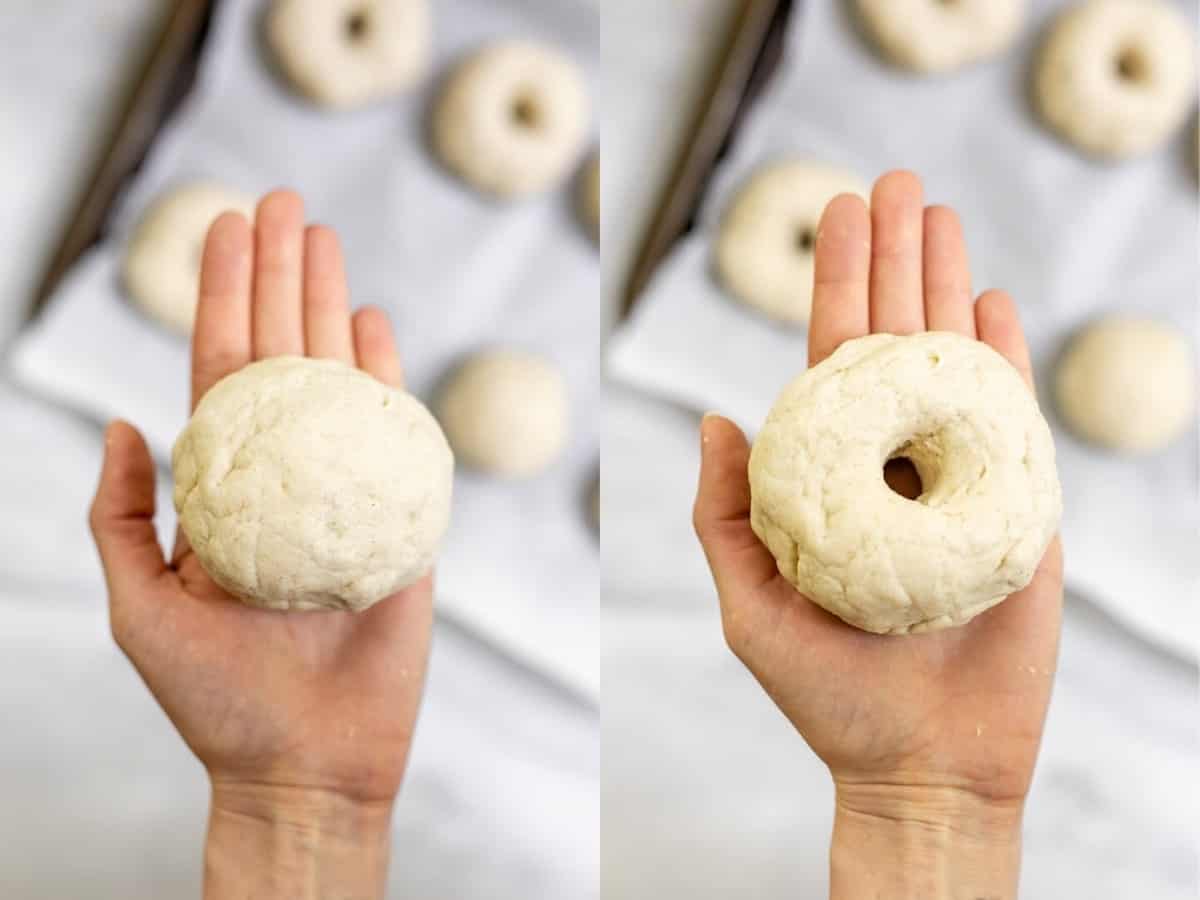
Roll each piece into a ball, then use your finger to poke a hole through the center.
Add to a baking tray lined with parchment paper, brush the tops with olive oil and place in a cool dark place. I like to use the drawer under my oven, but the actual oven works well too.
Let rise for 90 minutes. They won’t double in size, but should puff up a bit.
During the final 10 minutes or so, preheat the oven to 425 degrees Fahrenheit, of course removing the bagels from the oven if they were in there.
Bring 8 cups of water to a boil with the honey and baking soda.
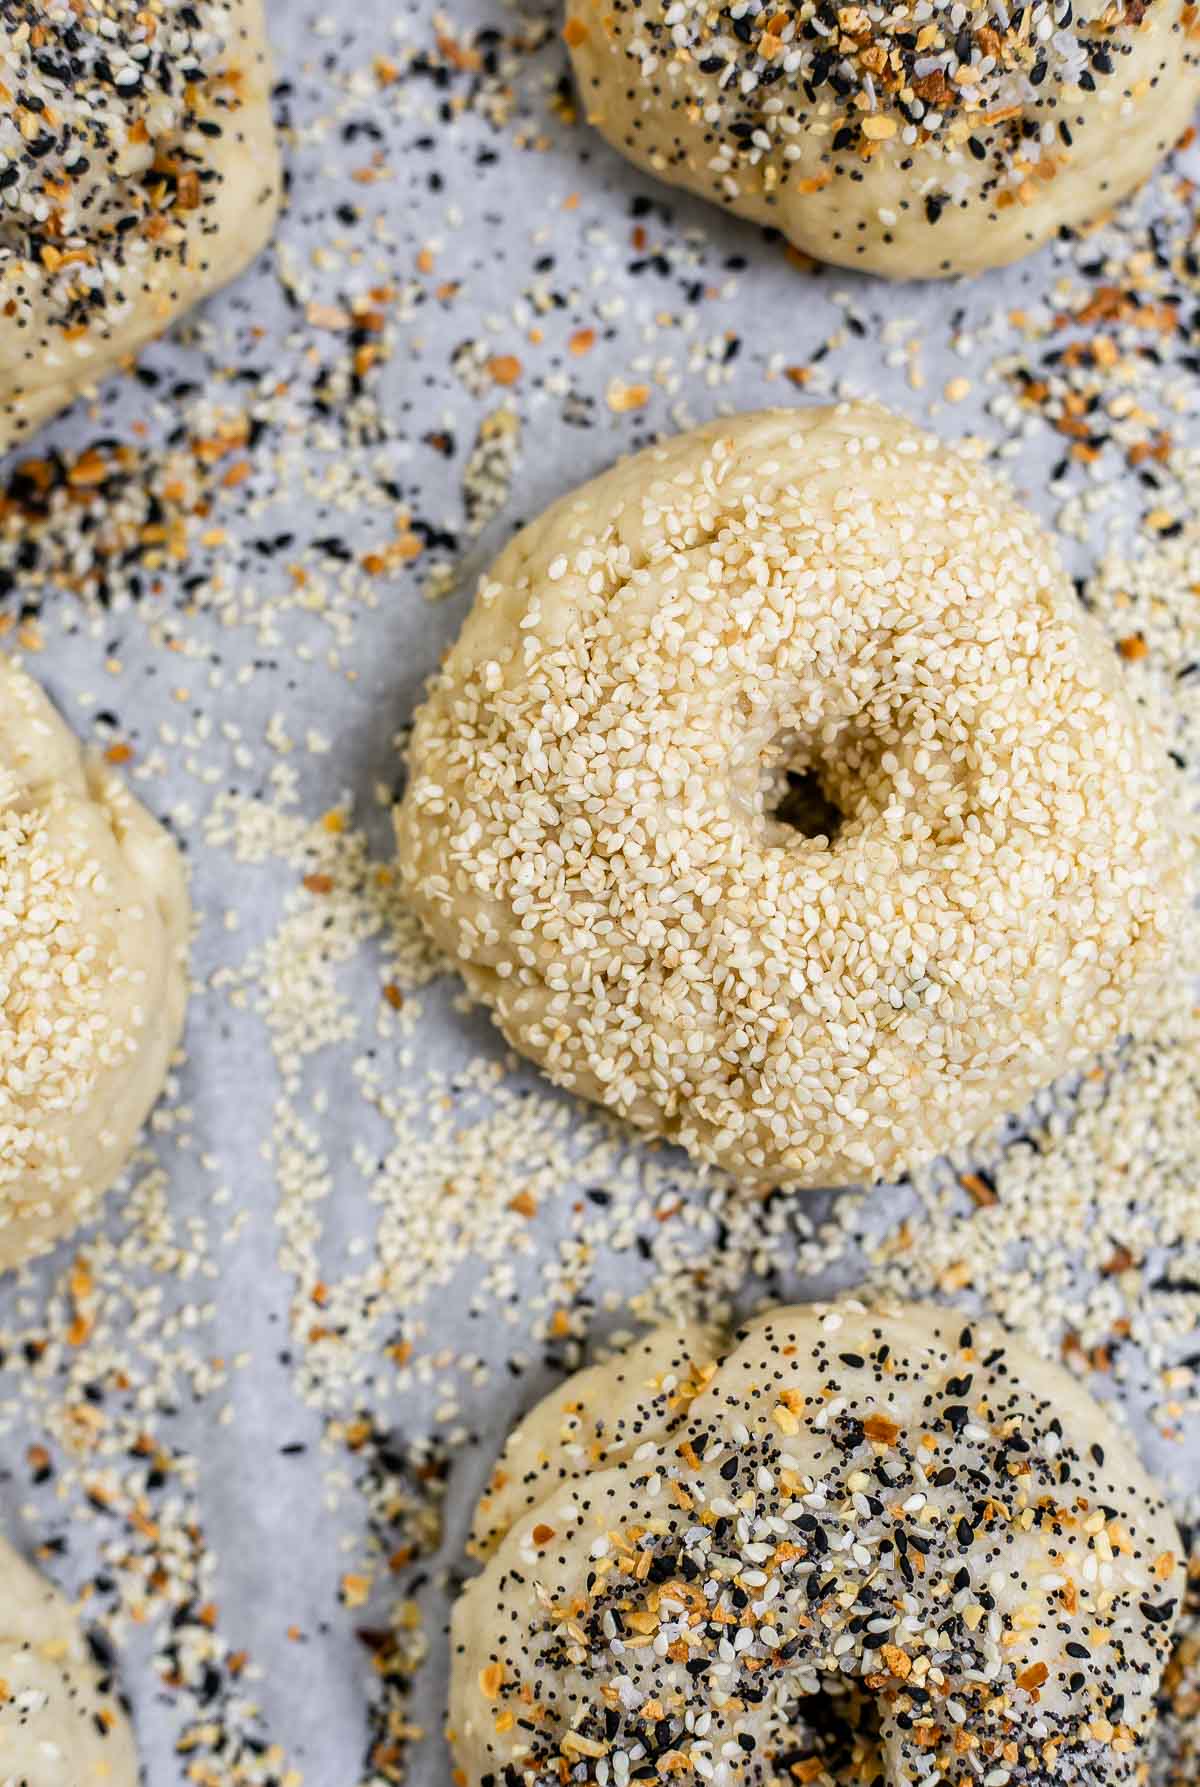
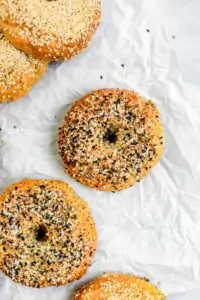
Once it reaches a rapid boil, add the bagels 1 at a time and boil on each side for 30 seconds. Use a slotted spoon to remove from the water and place back on the baking tray. Sprinkle with sesame seeds, everything bagel seasoning, poppy seeds or just a sprinkle of salt if desired.
Once all bagels have boiled, bake for 20 minutes, turn the oven off and let sit for 5-10 more minutes. The tops should be golden brown.
Remove from the oven and let cool for at least 25 minutes before slicing. The structure needs time to set, so avoid cutting too early! Toast if desired, serve with your favorite spread and enjoy!
Can I make them vegan?
As I mentioned before, I really wanted this recipe to be both vegan and gluten free, but the texture was just never good enough.
Flavor wise they were great, so you can sub the egg whites for 1/4 cup of water (no need to beat it), and they’ll be good.
You can also try subbing the egg whites with aquafaba (only whipped for about 20 seconds). I haven’t tried this myself and can’t guarantee the result, but I do imagine it would be pretty good!
How to store and freeze
These gluten free bagels are definitely best if eaten or frozen within 24 hours, but will keep for about 3 days at room temperature. If you’re eating them a few days after they’ve cooked, I suggest toasting them for the best texture.
These gluten free bagels freeze quite well actually! My suggestion is to let them cool completely, slice in half and freeze in a freezer safe zip lock bag.
When you’re ready to eat them, just pop in the toaster (no need to defrost beforehand) and cook until warm and toasty.
Do you have to let the dough rise?
Yes, but there is a bit of wiggle room for how long the dough needs to rise. I tested both 60 and 90 minute options and both turned out really well, but I preferred the texture with the 90 minute proof.
If you let bagels rise for too long they can dry out and get gummy, especially gluten free bagels, so I don’t recommend more than 2 hours.
For best results, I recommend sticking to the recipe as written since bagels can be very finicky!
More breakfast recipes you’ll love!
- Gluten Free Blueberry Muffins
- Banana Bread
- Gluten Free Donuts
- Gluten Free Cinnamon Rolls
- Coffee Cake
- How to Make Oatmeal
Lastly, if you want more recipes straight to your inbox, be sure to subscribe to my email list. As always, if you make this recipe, be sure to tag me on instagram and leave a comment below so I can see your creation!

Gluten Free Bagels
by: claire cary
Ingredients
Bagels:
- 2 ½ cups Bob's Red Mill 1:1 gluten free baking flour
- ½ cup almond flour
- 1 tbsp psyllium husk powder NOT whole husks
- 1 tsp salt
- 1 ½ tsp baking powder
- 2 tbsp olive oil
- 2 egg whites
- 1 tsp apple cider vinegar
Yeast:
- 1 packet (2 1/4 tsp) quick acting active yeast
- 1 cup + 1 tbsp warm water
- 1 tbsp white sugar
Water:
- 8 cups water
- 2 tbsp honey
- 2 tsp baking soda
Instructions
- Warm 1 cup of water until it reaches 110-115 degrees Fahrenheit. This temperature is really important for properly activating, but not killing, the yeast. If you don't have a thermometer, you want the water to be warm to the touch, but not hot.
- Add in the yeast and sugar and stir together. Let sit for about 5-10 minutes while we prepare the rest of the ingredients. It will foam up a bit as it sits.
- Meanwhile, whisk together all dry ingredients in a large bowl. This includes the all purpose flour, almond flour, baking powder, salt, and psyllium husk powder. When measuring the flours, be sure to spoon and level them into your dry measuring cups, don't scoop right from the bag.
- In a second bowl, add the egg whites and beat with an electric mixer for about 20 seconds. You don't want to over mix, just make them a bit foamy.
- Add in the olive oil and apple cider vinegar and whisk together.
- Add the egg white mixture to the dry ingredients and add the yeast/water mixture to the dry ingredients.
- Mix together with a wooden spoon until the batter comes together. It should be neither really wet nor dry.
- Add to a clean surface and knead for 90 seconds. You don't want to knead for too long since gluten free recipes can get gummy, so I like to set a timer. If you notice the dough is dry at all, add 1-2 tbsp more water until it's moist, but not super wet.
- Divide the dough into 4 equal segments. If weighing, they should be about 170 grams each. You can make more smaller bagels if you prefer, rather than 4 large. If making 6 bagels, they will be about 115 grams each.
- Roll each piece into a ball, then use your finger to poke a hole through the center.
- Add to a baking tray lined with parchment paper, brush the tops with olive oil and place in a cool dark place. I like to use the drawer under my oven, but the actual oven works well too.
- Let rise for 90 minutes. They won't double in size, but should puff up a bit.
- During the final 10 minutes or so, preheat the oven to 425 degrees Fahrenheit, of course removing the bagels from the oven if they were in there.
- Bring 8 cups of water to a boil with the honey and baking soda.
- Once it reaches a rapid boil, add the bagels 1 at a time and boil on each side for 30 seconds. Use a slotted spoon to remove from the water and place back on the baking tray. Sprinkle with sesame seeds, everything bagel seasoning, poppy seeds or just a sprinkle of salt if desired.
- Once all bagels have boiled, bake for 20 minutes, turn the oven off and let sit for 5-10 more minutes. The tops should be golden brown, but all ovens are different so keep an eye out. The tops will be golden before the inside is cooked, so keep this in mind.
- Remove from the oven and let cool for at least 25 minutes before slicing. The structure needs time to set, so avoid cutting too early!
- Toast if desired, serve with your favorite spread and enjoy!


Enza Sangiorgio says
Wonderful recipe, tastes just like the real thing. Great consistency, great texture and flavour. Would you be able to send me the recipe via email? I am happy to pay for it. Thank you
Sandy says
Can I substitute the almond flour with something else? I have an allergy to almonds.
Claire Cary says
You can try adding 1/4 cup more all purpose flour, so use 2 3/4 cup total of GF all purpose flour and omit the almond flour.
Lauren says
Are you able to make these without sugar or honey?
Claire Cary says
Unfortunately, no. You need the sugar to feed the yeast, otherwise the yeast won’t work at all.
Amy says
These are just amazing. I used the leftover yolk to make an egg wash for added color and better topping adherence. Thanks for the first good gluten free bagel I have ever eaten!
Claire Cary says
Thank you so much Amy, what a nice review! Love the use of the egg yolk, I’ll have to try that. So so happy you enjoyed these!
Jess says
These are amazing! I have missed bagels, thank you for this recipe!! I can’t have eggs or nuts so I subbed a flax egg for the egg and gf oat flour for the almond flour and even with those substitutions they were great. They freeze really well – if I’m not going to eat them straight out of the oven in my experience freezing and thawing was better than just leaving them at room temperature for even a day.
Claire Cary says
ohmygosh yay! So glad they worked with those subs, I’ll make note of that! Freezing is definitely the way to go. So glad you’re enjoying these!
JULIA LEO says
I’ve been having problems getting any gluten free bread to properly rise and cook all the way through, but I had no trouble with these bagels! They have a great smell, taste, and texture. Will definitely be making these again.
Claire Cary says
Perfect! So glad they worked out well. Thanks Julia!